
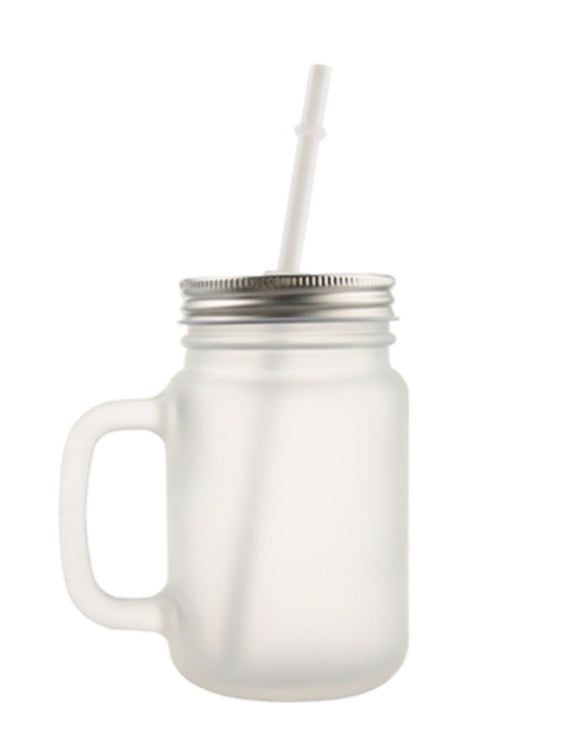
12 oz. Sublimation Frosted Mason Jar with Lid & Straw
12 oz. Sublimation Frosted Mason Jar with Lid & Straw
There are a few important things to know about glass mugs before you
sublimate. First the mugs are similar to all other sublimated products in
that the transfer and mug surface need to make direct contact and reach about
350-400 degrees before sublimation will occur and glass takes longer to heat than
most products.
Optimal image quality will be achieved using our mugs
specifically designed for sublimation.
Sublimation mugs can be sublimated using a mug press or using an oven with a
mug wrap. The directions for both a mug press and oven are below. If you are
using a wrap a convection oven is recommended.
Not all mug presses and ovens are created equally the dwell
time can range from 5 to 7 minutes in a mug press or 12 to 17 minutes in an
oven. Some experimenting with dwell time may be necessary for best results.
Directions for using a mug press and a wrap in an oven are listed below.
METHOD 1 - USING A MUG PRESS:
Supplies needed:
- sublimatable substrate (glass mug)
- sublimation transfer
- scratch paper
- heat tape
- Fan for cooling
Mug heat press settings:
- temperature - 400 degrees F
- dwell time - 5:00 - 7:00 minutes (see the press manufacturer for recommended
dwell time for glass mug)
- pressure - light
Note: The recommended settings above may need adjustments for best results.
Settings will vary depending on the mug press brand and model ink and paper
and atmospheric conditions.
2nd Note: Be sure that the artwork does not go beyond the size limits of the
mug press.
Steps:
1. cut your transfers so that the transfer is slightly larger vertically than
the mug.
2. Position the substrate onto the transfer.
3. Tape two ends of the transfer near the handle of the mug using the heat
tape.
4. Wrap a piece of scratch paper around the transfer and mug taping if
necessary.
6. Center the mug in the mug press.
7. Close the mug press using the mug heat press settings above.
8. Remove items from the press immediately. Use heat resistant gloves if
necessary - the items will be very hot.
9. Tear off the scratch paper and the transfer and place in front of fan for
cooling.
Tips:
- DO NOT place mugs into water after sublimation - cracking will occur. Use a
fan instead.
- If the image of the final product appears light increase the pressure or
the dwell time slightly (30-60 seconds).
- If the image on the final product appears blurred or substrate appears
yellowed or has brown spots on the rim of the top or bottom of the mug reduce
the dwell time slightly (15-30 seconds).
- Too much pressure can cause trapped moisture in the paper to "jet" away
pulling ink with it in a spiked-peaked formation. To avoid this reduce the
pressure.
METHOD 2 - USING A MUG WRAP:
Supplies needed:
- convection oven
- silicone mug wrap
- sublimatable substrate (glass mug)
- sublimation transfer
- scratch paper
- Fan
Oven settings:
- temperature - 400 degrees F
- dwell time - 12:00 - 18:00 minutes (depending on the wrap and oven type)
- mug wrap pressure - light to medium
Note: The recommended settings above may need adjustments for best results.
Settings will vary depending on the oven brand and model ink and paper and
atmospheric conditions.
2nd Note: Be sure that the artwork does not go beyond the size/dimension
limits of the mug wrap.
3rd Note: Convection ovens are recommended over traditional ovens for even
distribution of heat.
4th Note: Preheat the oven to 400 degrees F before placing the mug into the
oven.
Steps:
1. cut your transfers so that the transfer is slightly larger vertically than
the mug.
2. Position the substrate onto the transfer.
3. Tape two ends of the transfer near the handle of the mug using the heat
tape.
4. Wrap a piece of scratch paper around the transfer and mug taping if
necessary.
5. Wrap the silicone wrap around the mug and push the metal prongs through the
metal loops and squeeze together with both hands until secured.
6. Using the oven settings above stand the mug up in the oven. If placing
multiple mugs leave space between each to allow for proper heat & air
circulation.
7. Remove items from the oven after the appropriate dwell time using heat
resistant gloves if necessary - the items will be very hot.
8. Remove the mug wrap tear off the scratch paper and the transfer and place
mug in front of fan.
Tips:
- DO NOT place mugs into water after sublimation - cracking will occur. Use
fan instead.
- If the image of the final product appears light increase the pressure or
the dwell time (1-3 minutes).
- If the image on the final product appears blurred or substrate appears
yellowed or has brown spots on the rim of the top or bottom of the mug reduce
the dwell time slightly (15-30 seconds).